[Arduino] 15. 와이파이
in Arduino

와이파이
이번 시간에는 와이파이를 이용해서 보드와 통신하는 방법을 알아보겠습니다.
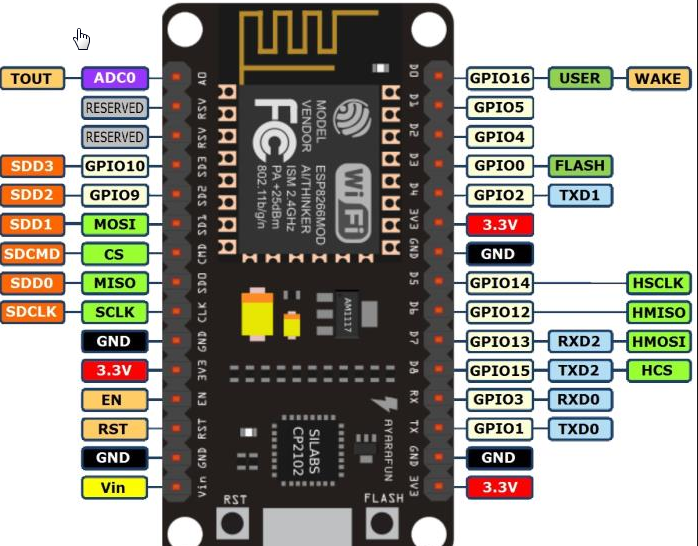
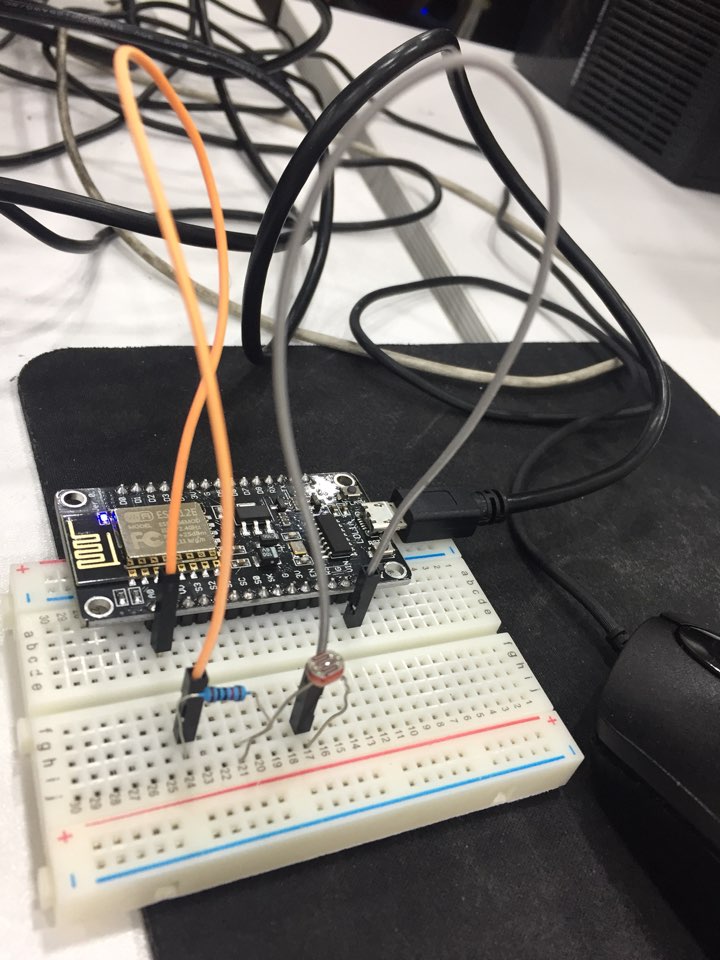
ESP-12E 모델의 NodeMCU 보드를 이용하겠습니다.
그리고 스케치에서 환경설정 URL에 다음과 같이 추가해줍니다.
http://arduino.esp8266.com/stable/package_esp8266com_index.json

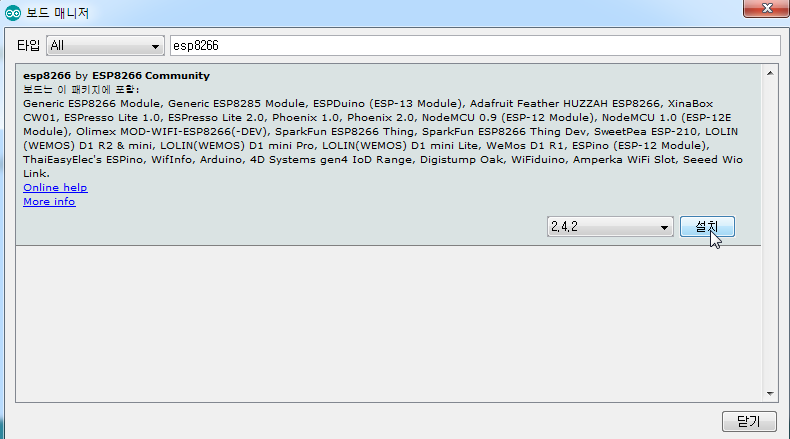
그리고 보드매니저에 esp8266을 검색해서 펌웨어를 다운받아줍니다.
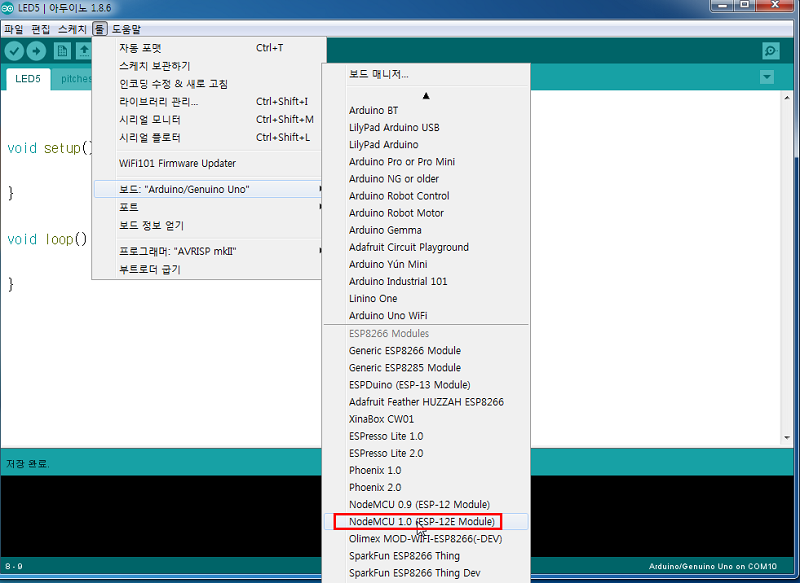
그리고 보드도 변경해줍니다.
제대로 연결되었는지 LED 전구먼저 켜보겠습니다.
void setup(){
 pinMode(D0, OUTPUT);
}

void loop() {
  digitalWrite(D0, HIGH);
  delay(500);
  digitalWrite(D0, LOW);
  delay(500);
}
제대로 켜지네요~!
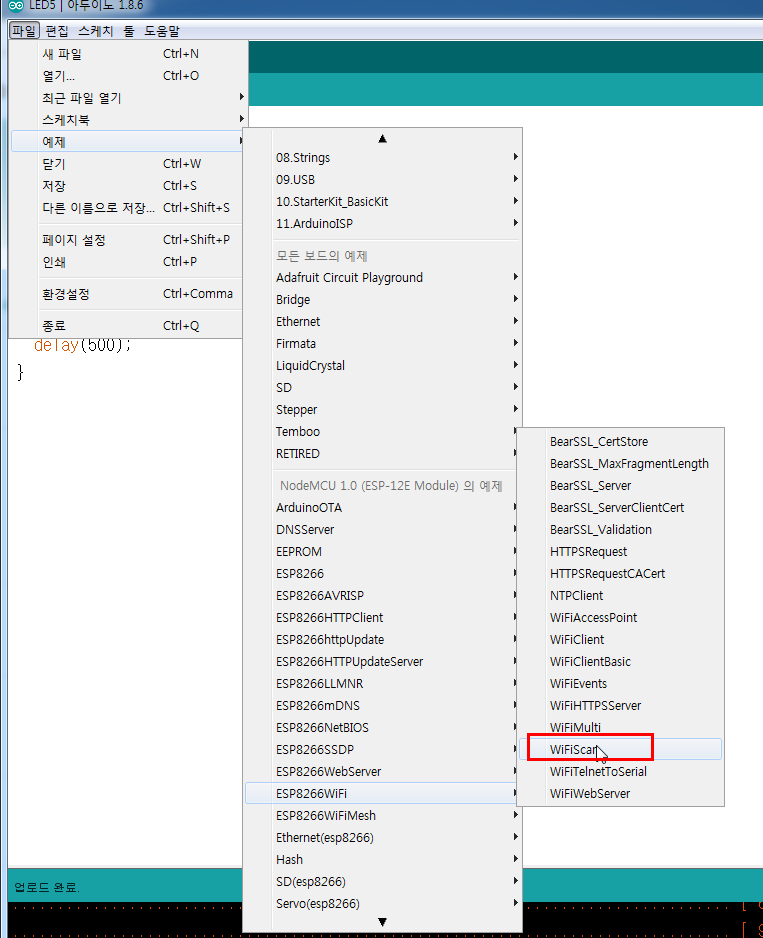
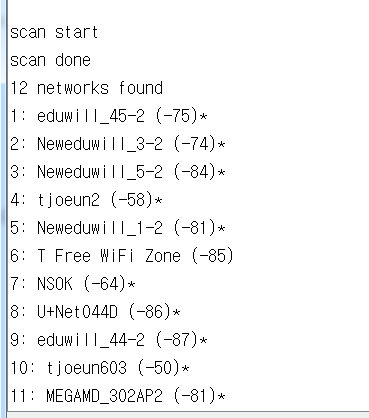
이제 주변의 와이파이가 어떤것이 있는지 scan 해보겠습니다!
예제에서 WifiScan을 불러옵니다.
/*
    This sketch demonstrates how to scan WiFi networks.
    The API is almost the same as with the WiFi Shield library,
    the most obvious difference being the different file you need to include:
*/
#include "ESP8266WiFi.h"

void setup() {
  Serial.begin(115200);

  // Set WiFi to station mode and disconnect from an AP if it was previously connected
  WiFi.mode(WIFI_STA);
  WiFi.disconnect();
  delay(100);

  Serial.println("Setup done");
}

void loop() {
  Serial.println("scan start");

  // WiFi.scanNetworks will return the number of networks found
  int n = WiFi.scanNetworks();
  Serial.println("scan done");
  if (n == 0) {
    Serial.println("no networks found");
  } else {
    Serial.print(n);
    Serial.println(" networks found");
    for (int i = 0; i < n; ++i) {
      // Print SSID and RSSI for each network found
      Serial.print(i + 1);
      Serial.print(": ");
      Serial.print(WiFi.SSID(i));
      Serial.print(" (");
      Serial.print(WiFi.RSSI(i));
      Serial.print(")");
      Serial.println((WiFi.encryptionType(i) == ENC_TYPE_NONE) ? " " : "*");
      delay(10);
    }
  }
  Serial.println("");

  // Wait a bit before scanning again
  delay(5000);
}
와우 주변에 있는 와이파이가 뜨는 것을 볼 수 있습니다.
이번엔 와이파이를 이용해서 웹 서버와 통신해 보겠습니다.
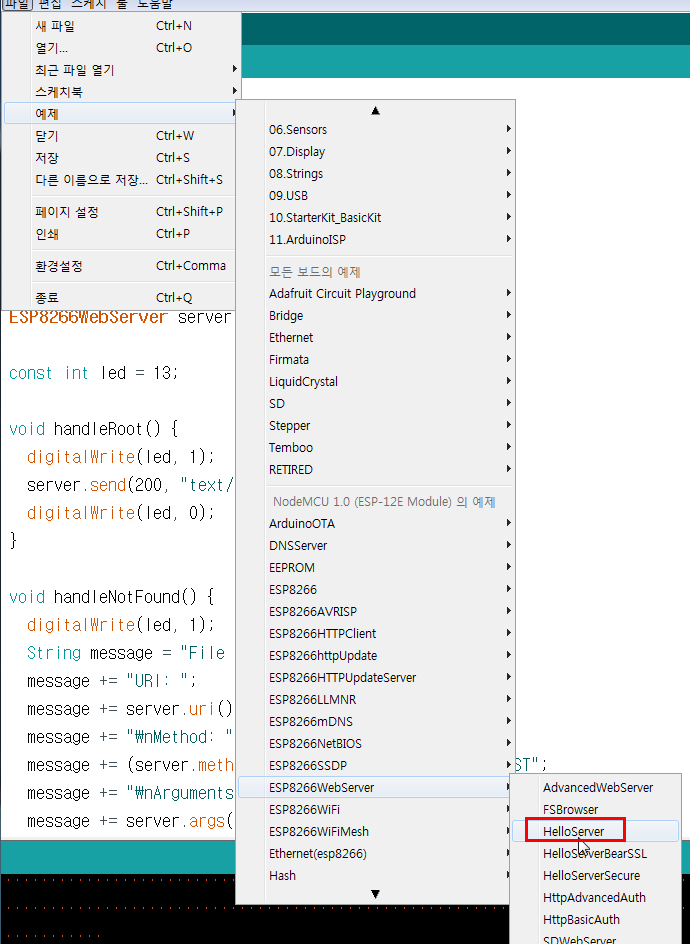
#include <ESP8266WiFi.h>
#include <WiFiClient.h>
#include <ESP8266WebServer.h>
#include <ESP8266mDNS.h>
const char* ssid = "........";
const char* password = "........";
ESP8266WebServer server(80);
const int led = 13;
void handleRoot() {
digitalWrite(led, 1);
server.send(200, "text/plain", "hello from esp8266!");
digitalWrite(led, 0);
}
void handleNotFound() {
digitalWrite(led, 1);
String message = "File Not Found\n\n";
message += "URI: ";
message += server.uri();
message += "\nMethod: ";
message += (server.method() == HTTP_GET) ? "GET" : "POST";
message += "\nArguments: ";
message += server.args();
message += "\n";
for (uint8_t i = 0; i < server.args(); i++) {
message += " " + server.argName(i) + ": " + server.arg(i) + "\n";
}
server.send(404, "text/plain", message);
digitalWrite(led, 0);
}
void setup(void) {
pinMode(led, OUTPUT);
digitalWrite(led, 0);
Serial.begin(115200);
WiFi.mode(WIFI_STA);
WiFi.begin(ssid, password);
Serial.println("");
// Wait for connection
while (WiFi.status() != WL_CONNECTED) {
delay(500);
Serial.print(".");
}
Serial.println("");
Serial.print("Connected to ");
Serial.println(ssid);
Serial.print("IP address: ");
Serial.println(WiFi.localIP());
if (MDNS.begin("esp8266")) {
Serial.println("MDNS responder started");
}
server.on("/", handleRoot);
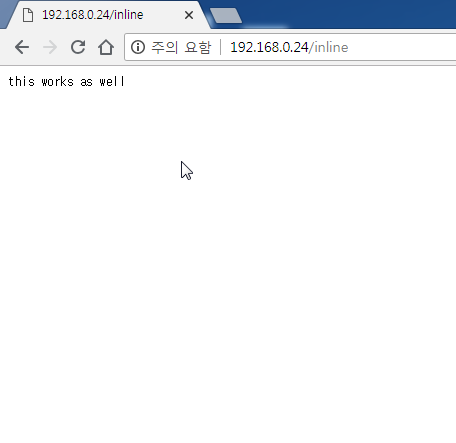
server.on("/inline", []() {
server.send(200, "text/plain", "this works as well");
});
server.onNotFound(handleNotFound);
server.begin();
Serial.println("HTTP server started");
}
void loop(void) {
server.handleClient();
}
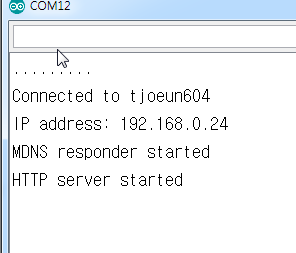
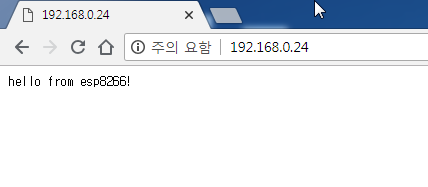
일단 연결 성공!
localhost:8080/ 과 localhost:8080/inline 에 제대로 메시지가 전달되는 것을 확인할 수 있습니다!
이번엔 조도센서의 값을 웹서버로 전달하는 것을 해보겠습니다.
#include <ESP8266WiFi.h>
#include <ESP8266WebServer.h>
#include <ESP8266mDNS.h>
#include <WiFiClient.h>

const char *ssid = "tjoeun604";
const char *password = "029381119";
ESP8266WebServer server(80); //localhost:80

void handleRoot(){
  String message = "<html><body>\n";
  message += "<h1>Arduino Server</h1>\n";
  message += "<p>value = ";
  message += analogRead(A0);
  message += "</p>\n";
  message += "<p>millis =";
  message += millis();
  message += "</p>\n";
  message += "</body></html>\n";

  server.send(200, "text/html", message);
}

void connectToWiFi(){
  Serial.print("connecting to ");
  Serial.println(ssid);

  WiFi.mode(WIFI_STA);
  WiFi.begin(ssid, password);
  while(WiFi.status() != WL_CONNECTED){
    delay(500);
    Serial.print(".");
  }
  Serial.println("\n connected");
  Serial.print("IP address: ");
  Serial.print(WiFi.localIP());
}
void setup(void) {
  Serial.begin(115200);
  connectToWiFi();

  server.on("/", handleRoot); //root handleRoot 실행
  server.begin();
  Serial.println("HTTP server started");
}

void loop(void) {
 server.handleClient();
}
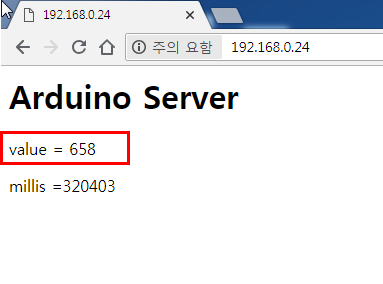
센서 값이 무사히 서버로 넘어오는 것을 볼 수 있습니다!
다음 장에서는 와이파이를 이용해서 JSON 데이터를 웹서버로 어떻게 수신하고 받는지 해보겠습니다!

배움은 의무도 생존도 아니다